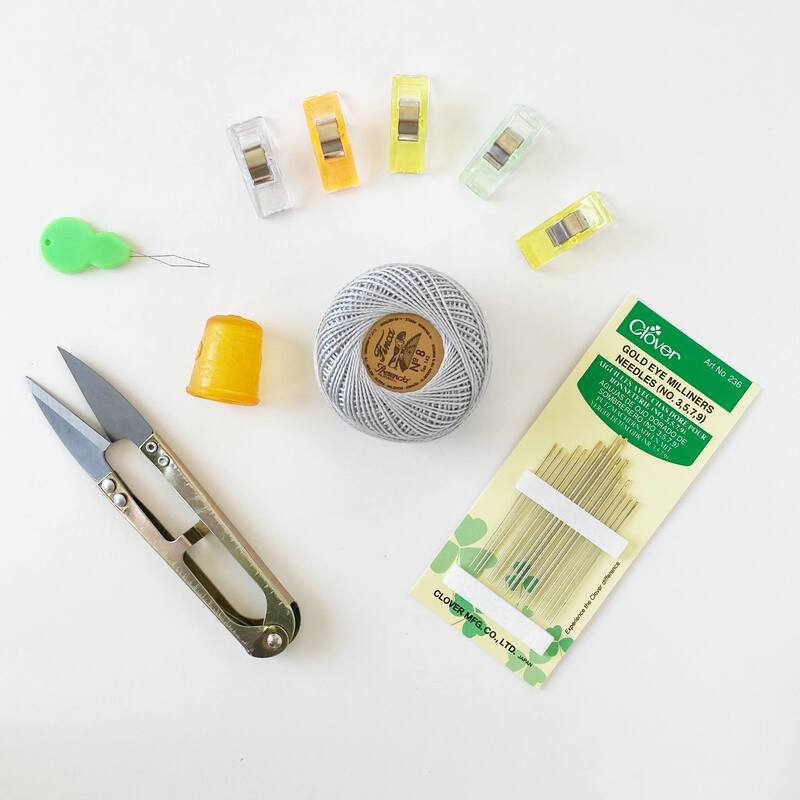
 Have you ever wanted to hand quilt? There are so many different supplies and options that it can be hard to know what you need and what you can skip. Now you don’t need to wonder! I have put together a Hand Quilting Kit. I specifically made it for hand binding your quilts. This kit has everything you need to start hand binding or hand quilting.  The Gold Eye Needles come in a pack of 16 needles. There are 4 different sizes to choose from. My favorite size to use is the size 7, they are the perfect weight and length for hand quilting. 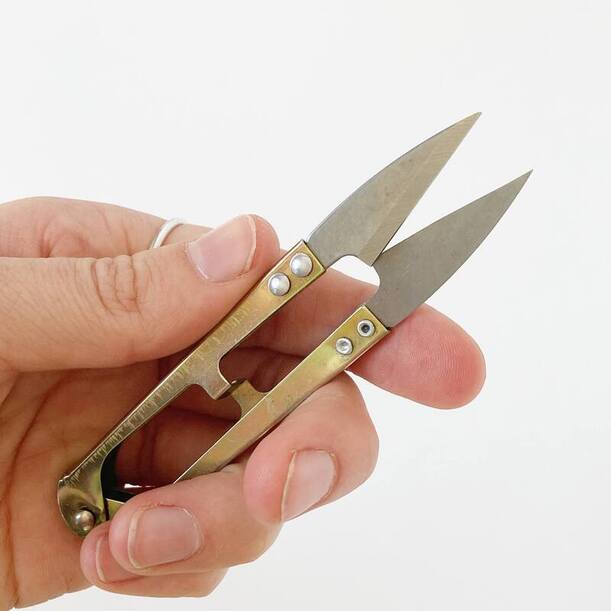 The Embroidery Snips are super sharp. They are 4 1/4 inches long and the blades are made from durable stainless steel. 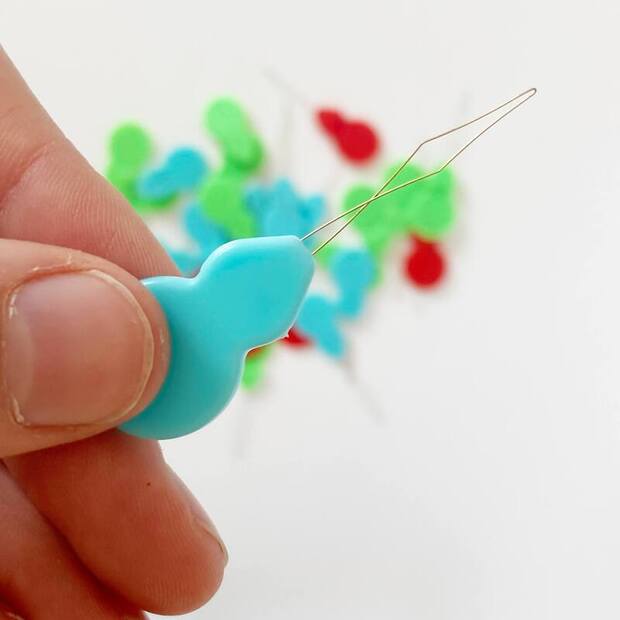 The Needle Threaders are about 2 inches long. The wire is flexible and durable making them perfect for threading a variety of needle types. You will get a random color.  The Clips can help hold your binding down as you hand quilt. Each pack comes with five clips. (assorted color) 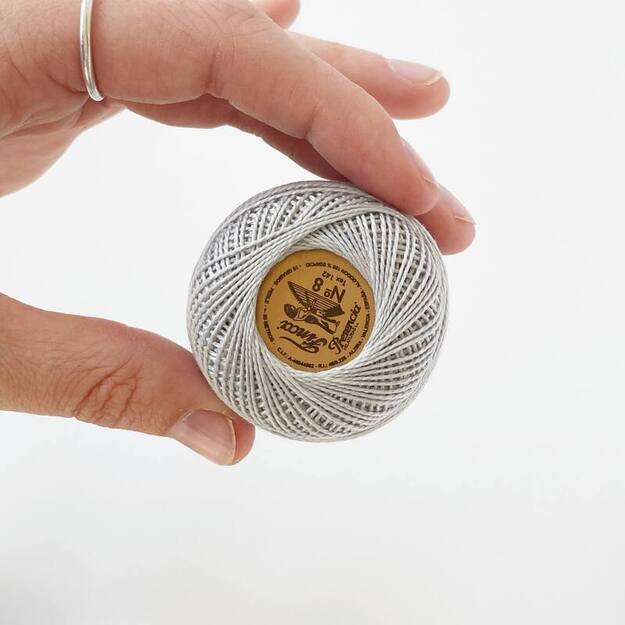 Perle Cotton 8 thread is perfect for hand quilting and binding! You can choose from four different thread colors: Black, Grey, Navy or White. This thread is 100% extra long staple Egyptian cotton and is colorfast and shrink fast. There is enough thread to bind at least three twin size quilts! 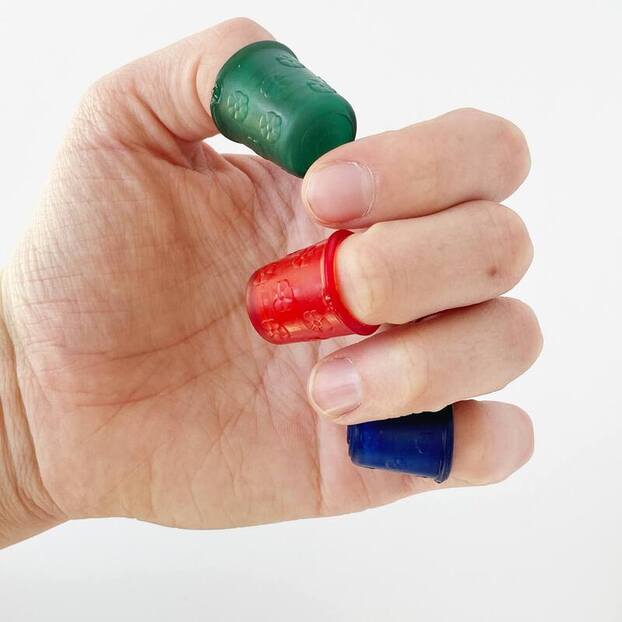 The Thimble comes in three different sizes. Small: 11/16 inch. Medium: 3/4 inch. Large 7/8 inch. The thimble are rubber. (assorted color) These Quilting Kits would be a great stocking stuffer or gift for any quilter in your life! Click HERE to see this kit in my shop. Emily
0 Comments
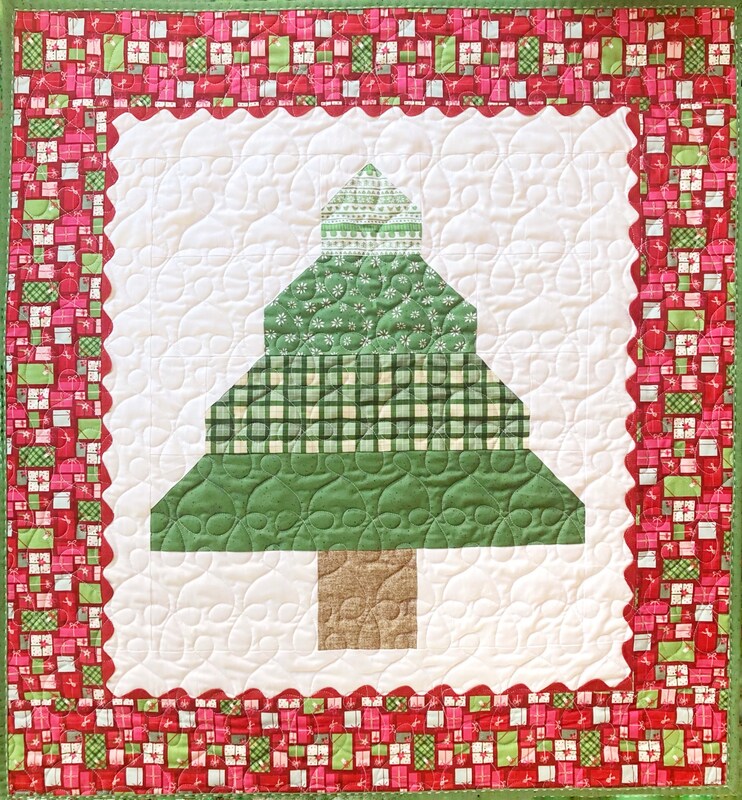 This adorable Christmas Tree wall hanging is super fun and fast to make. You can use scrap fabric, fat quarters or quarter yards. This wall hanging finishes at about 26 by 29 inches. Supplies: 5 Fat Quarters (or scraps or quarter yards) (four green, one brown) 3/4 yard Background Fabric 3/4 yard Border Fabric 1/2 yard Binding 1 yard Backing Instructions: 1-Cut your green fabrics
2-Cut your Trunk- 5x5 inch square 3-Cut background fabric
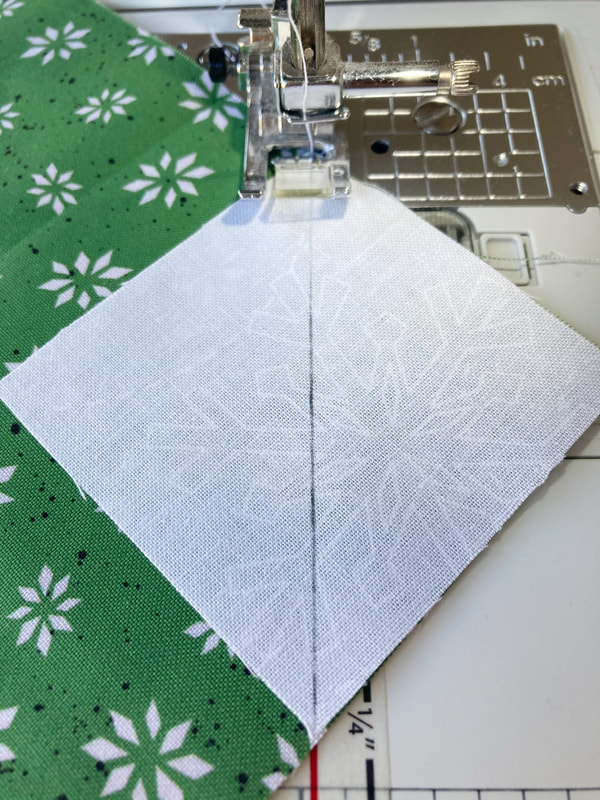
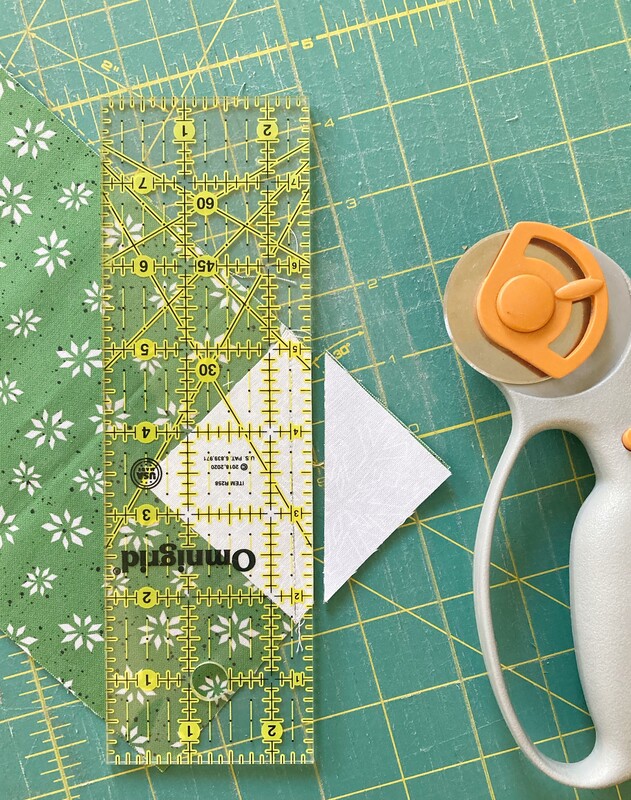
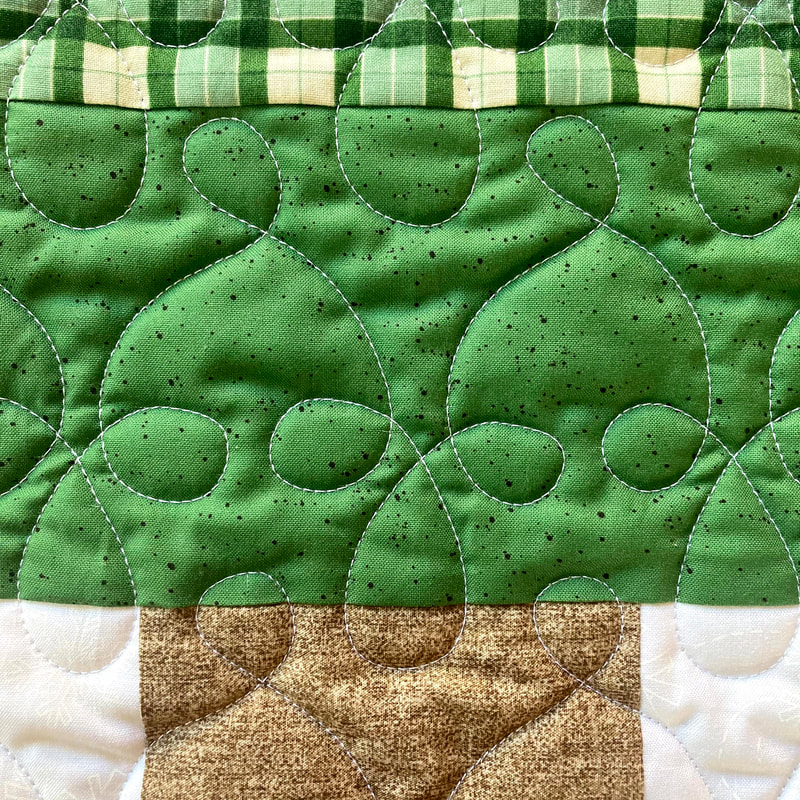
 4-Lay out your green and brown pieces. Put a 3-inch background square in both top corners of all the green layers. (See below.) 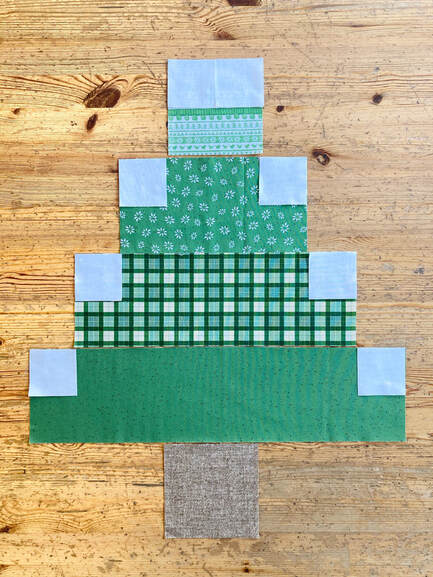 5-Sew from corner to corner on all the background squares (a drawn line helps with this) then trim 1/4 inch away from the seam and iron. On the top layer of the tree, the background squares will overlap, this will give you a nice point when the rest of the top has been assembled. 6-Sew the 3x5 inch background strips on each side of the third tree layer, press. 7- Sew the 5.5x5 inch background strips on each side of the second tree layer, press. 8- Sew the 8x5 inch background strips on each side of the first tree layer and trunk and press. 9- Sew all five rows of the tree together. 10- Take your 2.5 inch background strips and add a border around your tree. 11- Cut your Border Fabric into 5-inch x WOF strips. Sew these onto the edges of the quilt. 12-Quilt and bind as desired. I quilted my tree with the Filigree pattern and handstitched my binding. Tag me on Instagram @browneyedquilter so I can see all the lovely trees that you make! Be sure to comment if you have any questions or need any help! ~Emily WOF-Width of Fabric. All seams are 1/4-inch unless otherwise noted. 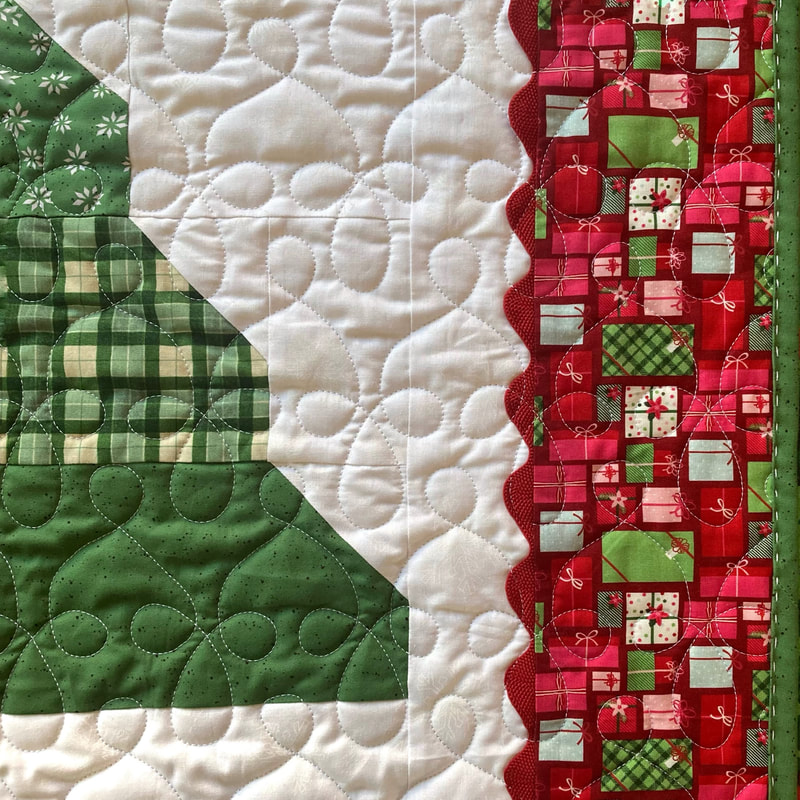 |
CategoriesArchives
February 2021
|

 RSS Feed
